Traditional Basket Weaving as Woodworking?!
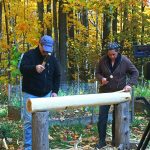
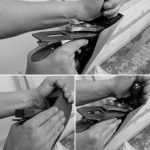
Our new DVD “Traditional Basket Weaving” recently dropped at shopwoodworking.com, and I can honestly say that I was blown away. I have seen plenty of woven baskets in my life, but I never knew how much hard work and detail went into making each one. You don’t have to take my word on it though, David Thiel was present during the DVD shoot and you can read his thoughts below. […]
The post Traditional Basket Weaving as Woodworking?! appeared first on Popular Woodworking Magazine.
Traditional Basket Weaving as Woodworking?! Read More »